Showing posts with label UV Mapping. Show all posts

Saturday, 11 June 2016

@Phil [ND16] 06: Water Character; Forgotten Feature - Shoelaces 3D Testing

After spending some time figuring out how to best shape the laces texture to work on the curved geometry, I have provided 3 slightly different versions. Having looked at Water for so long without her laces, I can't decide whether she looks better with or without them? If these are indeed suitable in 3D, my favourite version is the Medium Laces.

3D Model Versions

Foot UV Map Versions

Wednesday, 23 March 2016

@Alan [Major Project] 28: Water Character; Texturing Complete

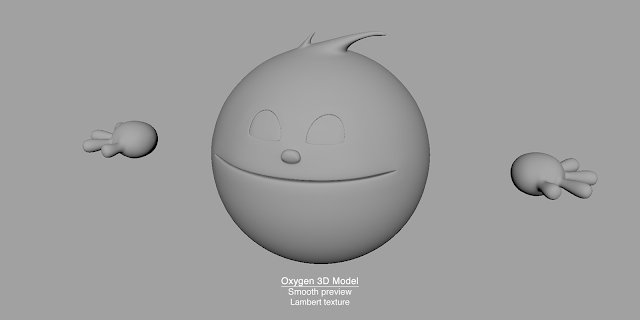
@Alan I've been investigating my texture & lighting attributes in search of the cause of the brownish "ring" around much of my character, a feature that is also noticeable as part of Oxygen's model. Do you know how I can fix this, or make it look less prominent? Is this simply a result of there being no surroundings for Water's 0.500 Reflectivity to pick up on?


"brownish ring" close-up

Water Face/Torso, Hands, Band & Shoes UV Map

Water Eyes UV Map

Tuesday, 22 March 2016

[Major Project] 27: Water Character; UV Mapping Complete

I have applied a Surface Shader to Water's eyelashes to make them appear entirely black & flat from all directions, this effect visible in my perspective view render of Water's UVed model, directly below.


UV Maps (Smooth Preview)

Wednesday, 27 January 2016

Monday, 25 January 2016

[Major Project] 01: Iron UV Mapping 01; First Attempt & Custom UV Grid

My Iron character has been fully textured to look like a Vinyl figure, however this was achieved solely within Maya. Without creating a reference object, the bump map would animate when Iron moved, which is not what I want. Rather than trying to avoid UV Mapping, I have decided I must get over my aversion towards it, especially in preparation for the eventual UV Mapping of my Oxygen and Water characters, because both have features that will definitely require a UV Map. My first attempt at UV Mapping Iron's head has turned out messier than expected, due to me performing an over-complex Automatic map, so I am going to restart the UVing process.

My custom UV Grid was created in Photoshop using this tutorial for the basic process. The UV Grid uses darkened versions of Graphite, Helium, Hydrogen, Iron, Oxygen and Water's primary colour schemes for its background. The letter squares use the Erlenmeyer flask from Elements Academy's logo.

My Elements Academy UV Grid

Current UV Mapping Progress
01

02

Iron Head Close-Up with Maya Textures

{next}